
Dermaplaning at home can give you baby-smooth, glowing skin—but one wrong move triggers breakouts instead of that coveted radiance. The key to learning how to dermaplane without breaking out lies in proper technique and essential dermaplaning aftercare. This safe dermaplaning guide walks you through removing dead skin cells and peach fuzz correctly, plus the post-dermaplaning skincare routine that prevents irritation. With the right approach, at-home dermaplaning becomes a game-changing addition to your beauty routine rather than a recipe for angry pimples.
Quick Take
-
Use a gentle, non-comedogenic cleanser.
-
Apply aloe vera gel or facial oil for slip.
-
Sanitize and use a clean, sharp blade.
-
Hold at a 45° angle and glide gently.
-
Apply calming, fragrance-free skincare.
-
Avoid active ingredients and wear sunscreen.
Pre-Dermaplaning Checklist
-
Wash your hands to prevent transferring bacteria to freshly exfoliated skin.
-
Sterilize the blade with rubbing alcohol to avoid contamination.
-
Remove all makeup with a gentle, non-comedogenic cleanser so the blade glides smoothly.
-
Avoid heat exposure or caffeine for at least 2-4 hours before, as both can increase skin sensitivity.
-
Inspect your skin for irritation, sunburn, or active breakouts—skip the session if any are present.
How to Dermaplane Safely at Home
Step 1: Cleanse and Prepare the Skin
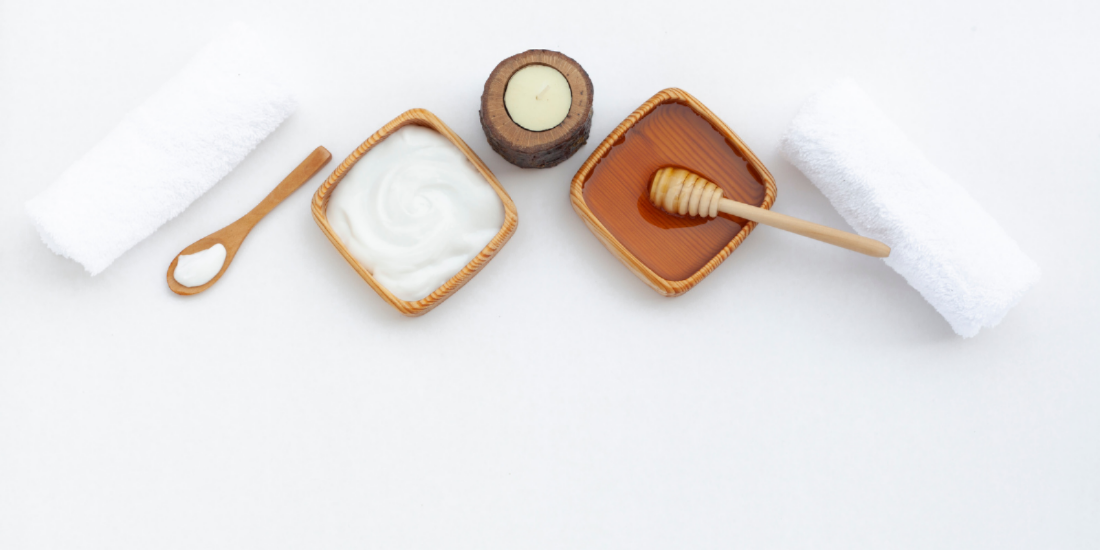
Cleansing removes dirt, oil, and bacteria that can enter open follicles during dermaplaning and trigger breakouts. A non-comedogenic barrier, like aloe vera or facial oil, reduces friction, allowing the blade to glide smoothly. This helps prevent microtears and supports healthy skin recovery as part of dermaplaning aftercare.
Step 2: Use a Sterilized Dermaplaning Tool
Sterilizing the tool with rubbing alcohol removes bacteria that could enter freshly exfoliated skin and trigger inflammation. Using a sharp, single-use blade reduces the risk of micro-cuts, which can compromise the skin barrier and lead to irritation or post-treatment breakouts.
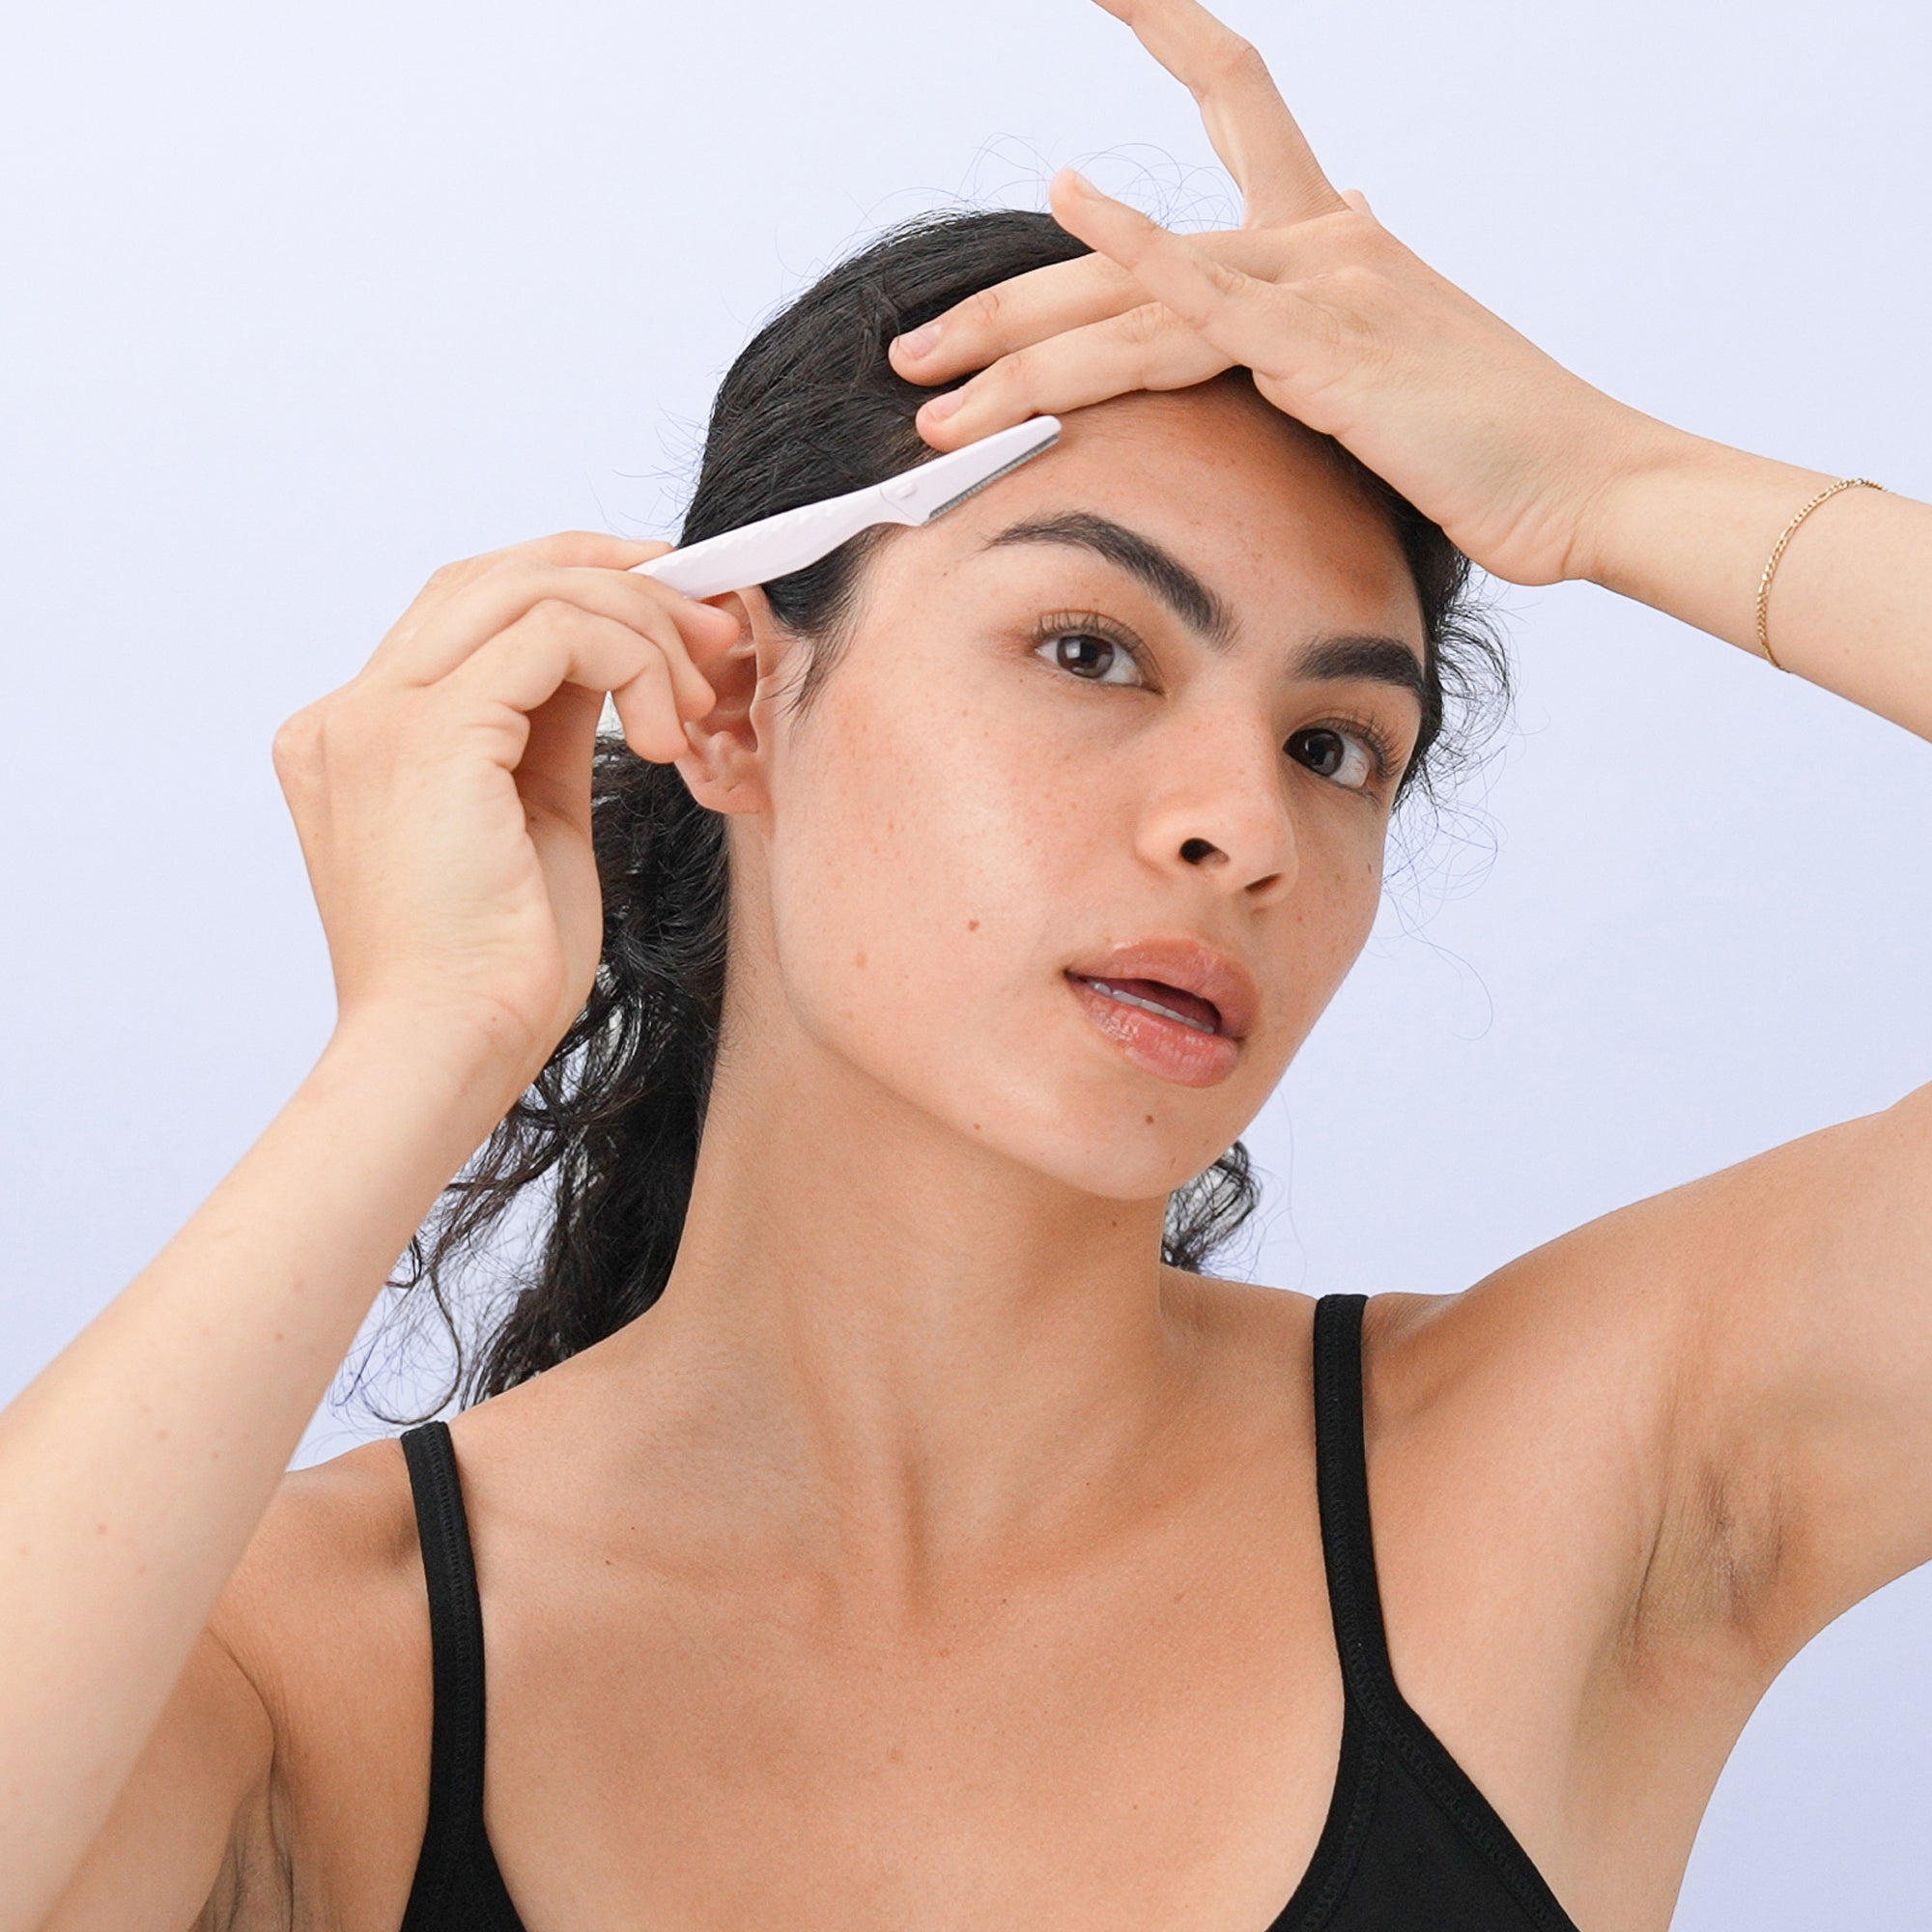
Step 3: Glide Gently and Slowly
Holding the blade at a 45-degree angle with light pressure protects the skin barrier and prevents microtears. Excess force can trigger inflammation and post-treatment breakouts. A slow, controlled motion ensures even exfoliation while minimizing injury to the skin’s surface.
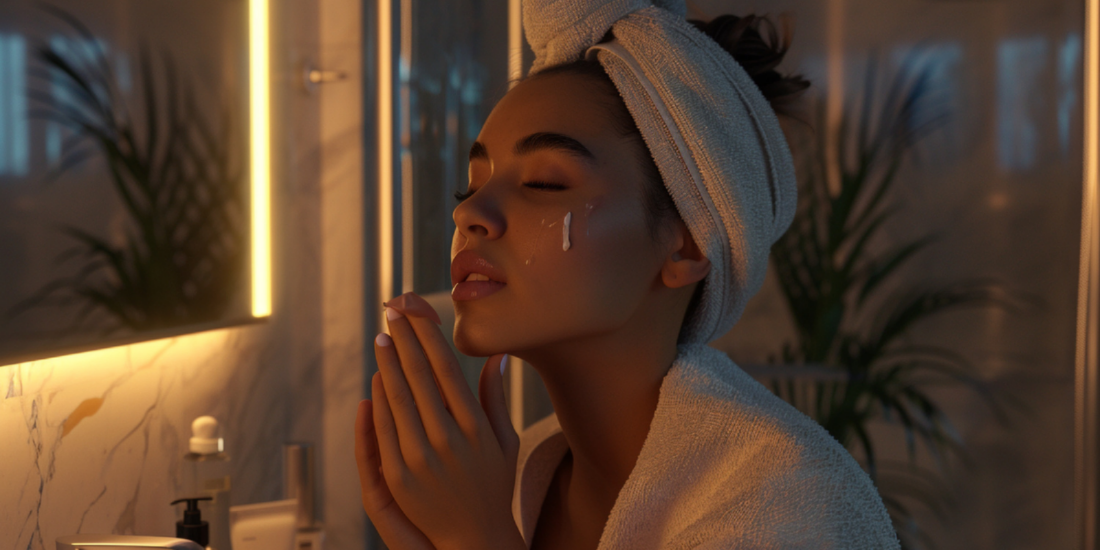
Step 4: Calm and Protect the Skin
After dermaplaning, your skin is more sensitive and prone to irritation. Use calming ingredients like Centella Asiatica or chamomile and follow with a hydrating, fragrance-free moisturizer. Avoid harsh actives and focus on barrier-repairing ingredients like ceramides or hyaluronic acid.
What to Avoid After Dermaplaning
-
Avoid hot showers and steam for 24 hours, as heat can dilate blood vessels and worsen redness or irritation.
-
Skip harsh actives like vitamin C, AHAs, BHAs, or retinoids, which may overstimulate freshly exfoliated skin.
-
Don’t use scrubs or exfoliating masks, which can lead to over-exfoliation and disrupt the skin barrier.
-
Avoid touching your face and make sure pillowcases and towels are clean to reduce the risk of breakouts.
-
Delay makeup application for at least 24 hours to prevent clogged pores and irritation.
Cause of Breakouts After Dermaplaning
Breakouts after dermaplaning are often caused by bacteria entering freshly exfoliated skin. This can occur if tools aren’t properly sterilized or if your hands touch your face immediately afterward.
Heavy or pore-clogging products can also trigger irritation. Some people may even confuse skin purging with actual breakouts.
Understanding the difference between a temporary reaction and true acne flare-ups is important. Taking proper precautions before and after dermaplaning greatly reduces the risk.
FAQs
Q: Can I apply makeup right after dermaplaning?
A: It’s best to wait at least 24 hours to let the skin recover and avoid clogging freshly exfoliated pores.
Q: Is it safe to dermaplane if I have sensitive skin or rosacea?
A: If you have active rosacea or highly sensitive skin, consult a dermatologist before trying dermaplaning.
Q: Can dermaplaning replace exfoliating acids?
A: Dermaplaning offers physical exfoliation but does not replace the effects of chemical exfoliants like AHAs or BHAs. Use them on alternating weeks to avoid over-exfoliation.
Our Top Picks
Tinkle Dermaplaning Tool

Dorco Tinkle is our top pick for at-home dermaplaning. Trusted by over 130,000 reviewers on Amazon, it’s known for being affordable, effective, and easy to use. Its simple design makes it a great choice for beginners looking to try dermaplaning safely.
Dermaplane Starter Kit

This dermaplaning kit includes everything needed to prep, exfoliate, and soothe the skin. It’s easy to use with a safety blade and ergonomic handle, making it suitable for beginners. The included lightweight balm and calming moisturizer minimize irritation and support skin recovery. For a full walkthrough, check out the Complete Guide to Dermaplaning with epielle Dermaplane Starter Kit.