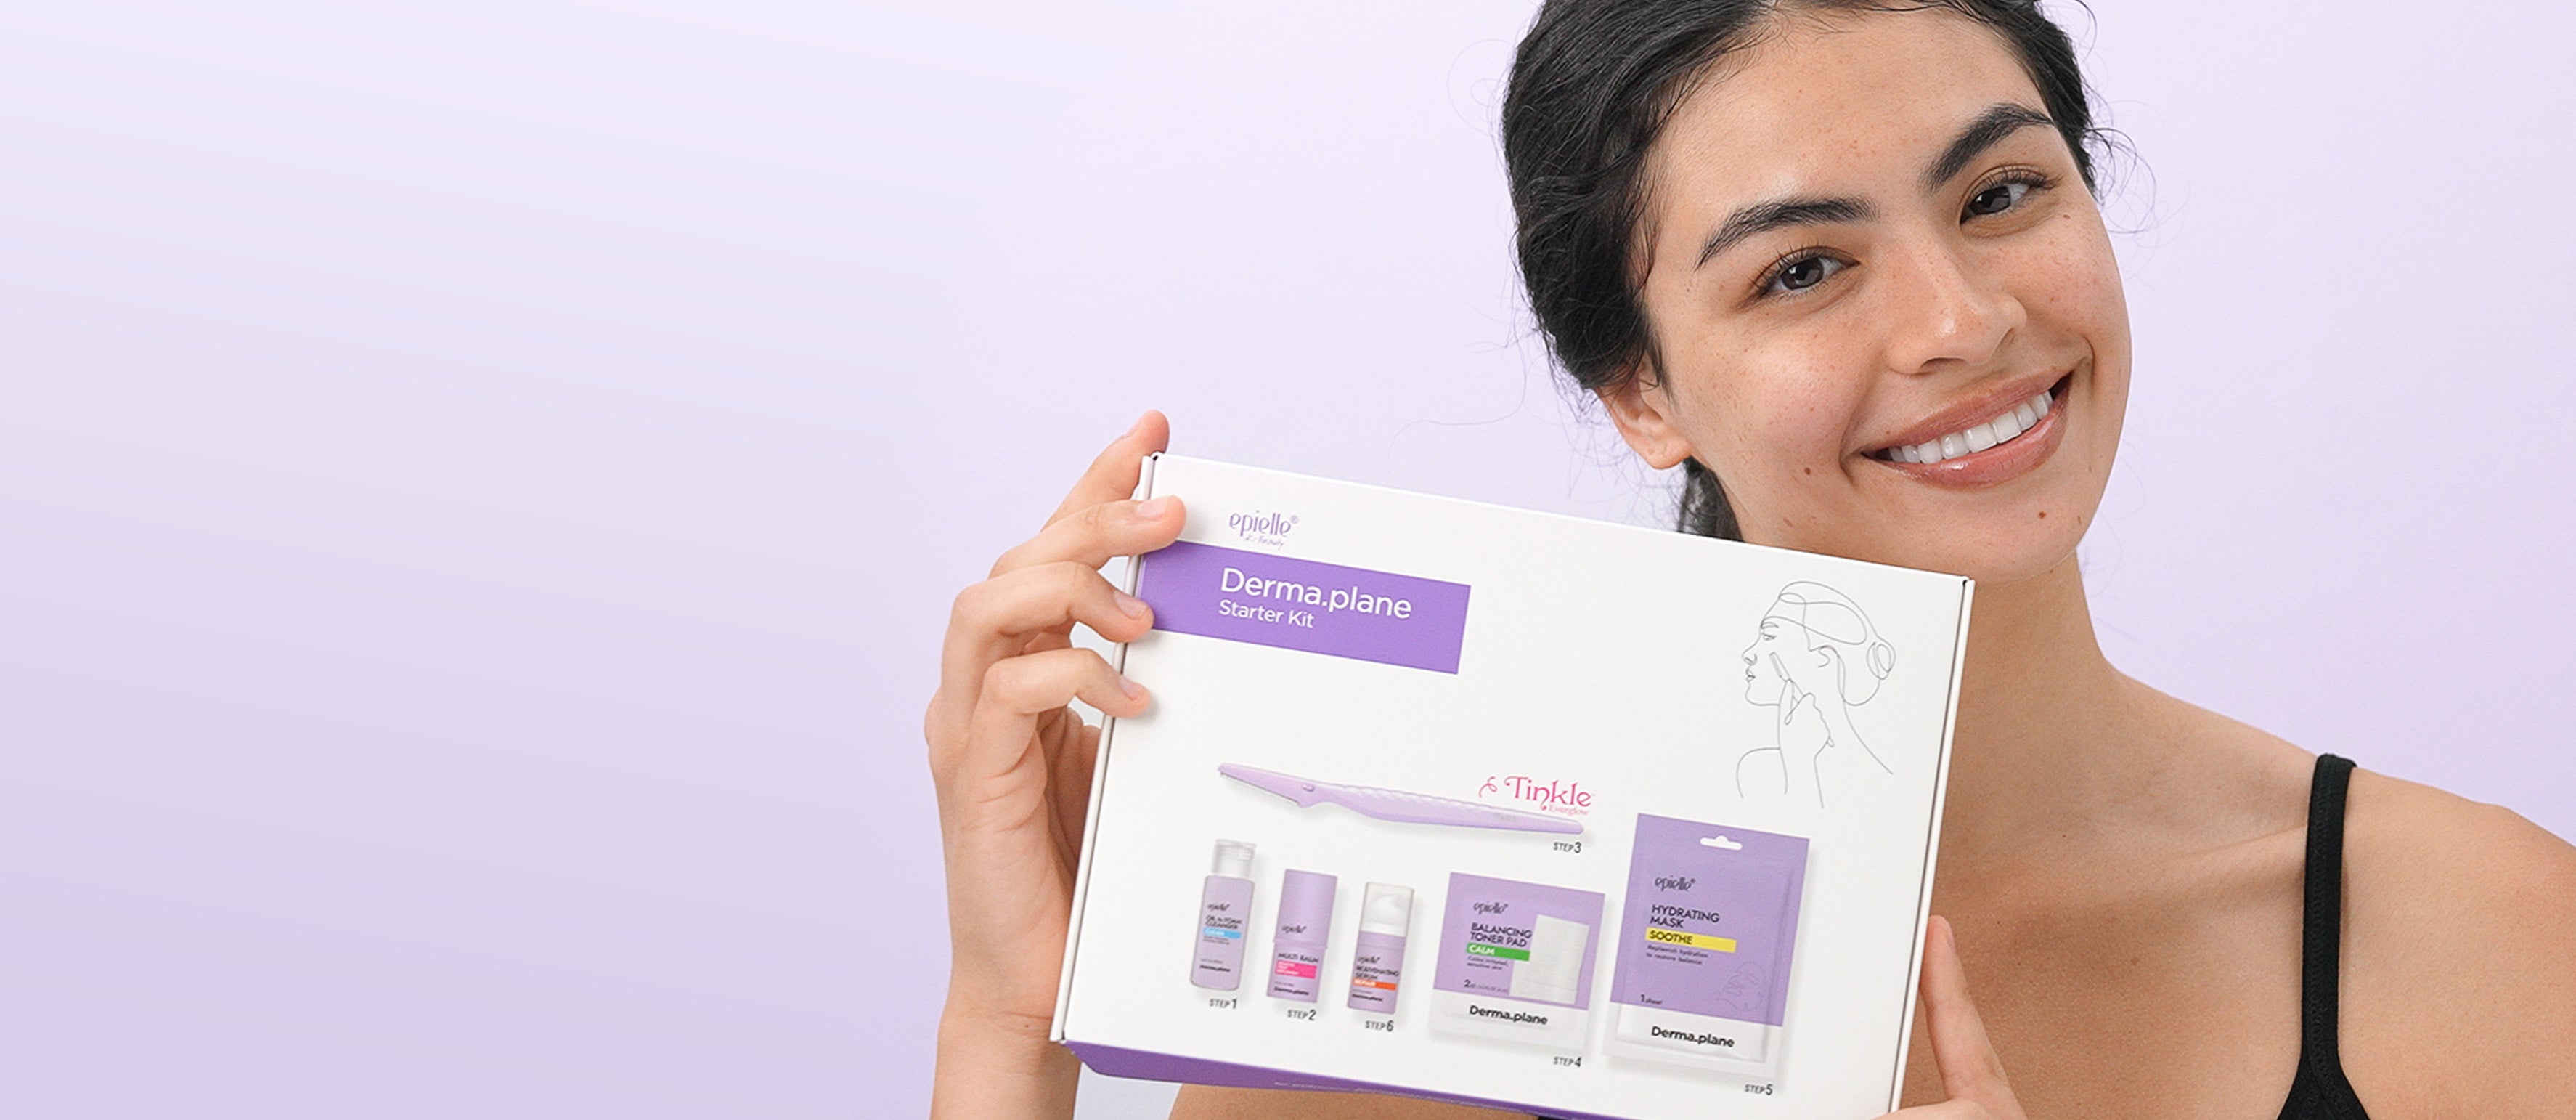
Dermaplaning is an easy and effective way to exfoliate, remove peach fuzz, and achieve smoother, brighter skin. Whether you're new to dermaplaning or have been doing it for a while, proper dermaplaning aftercare is key to keeping your skin healthy and glowing. The epielle Dermaplane Starter Kit is designed to provide everything you need for a complete at-home dermaplaning experience, from preparation to post-treatment care.
Why Aftercare Matters
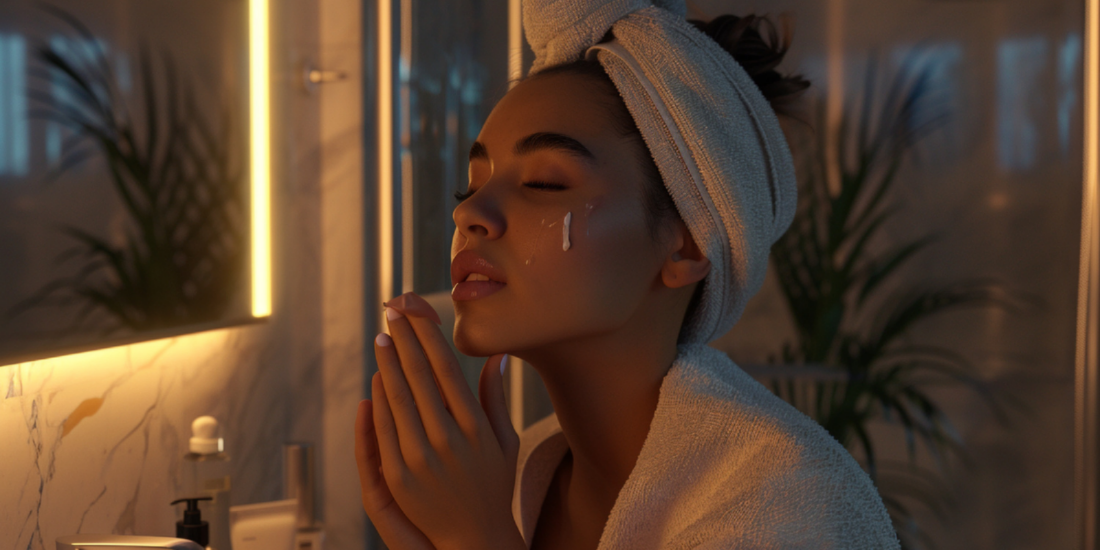
Dermaplaning removes dead skin cells and facial hair, leaving skin fresh and smooth, but also more sensitive. Using the right aftercare for dermaplaning helps prevent irritation, locks in hydration, and keeps your skin balanced. If you've ever wondered what to put on after dermaplaning, following a proper routine can make all the difference.
Now, let’s walk through the best way to use the epielle Dermaplane Starter Kit, ensuring a smooth process and effective dermaplaning aftercare.
Step 1: Cleanse Your Skin With Oil-to-Foam Cleanser

Starting with a clean face is essential to avoid clogged pores or breakouts after dermaplaning. The Oil-to-Foam Cleanser removes dirt, excess oil, and makeup while keeping the skin hydrated. This two-in-one formula starts as a cleansing oil to break down impurities and then transforms into a foamy lather for a deeper cleanse.
Why this step is important:
-
Creates a clean surface for dermaplaning
-
Helps minimize bacteria and reduces the chances of breaking out after dermaplaning
-
Hydrates the skin without stripping essential moisture
Massage onto dry skin, add water to lather and rinse thoroughly. Once your skin is prepped, you’re ready to dermaplane.
Step 2: Use Multi-Balm for a Smooth Glide

You can dermaplane on dry skin or use a multi-balm for added comfort. Applying the Multi-Balm creates a protective barrier, allowing the blade to glide effortlessly over the skin.
Why use a multi-balm?
-
Reduces friction and irritation, making it ideal for sensitive skin
-
Hydrates with soothing ingredients like shea butter and centella asiatica
-
Helps prevent redness or discomfort after dermaplaning
Swipe the balm across your face before using the dermaplaning tool for a smoother experience.
Step 3: Exfoliate With Tinkle Dermaplaning Tool

The kit features the Tinkle dermaplaning tool, designed for precise exfoliation. This tool removes peach fuzz and dead skin cells, enhancing skin texture and allowing skincare products to absorb more effectively.
Tips for best results:
-
Hold the tool at a 45-degree angle and use light, downward strokes
-
Avoid applying too much pressure to prevent irritation
-
Always use a clean, sterile blade
Once done, move on to dermaplaning aftercare to keep your skin calm and hydrated.
Step 4: Restore Balance With Balancing Toner Pad

After dermaplaning, your skin may feel sensitive, making a balancing toner pad a great way to restore hydration and calm irritation. These toner pads contain heartleaf extract, a popular K-beauty ingredient known for its soothing properties.
Why this step is important:
-
Helps restore the skin’s pH balance
-
Soothes redness and irritation
-
Preps the skin for deeper absorption of moisturizers and serums
Gently swipe the pad over your face for a cooling, refreshing effect.
Step 5: Hydrate With a Moisturizing Mask

Since dermaplaning removes the outer layer of dead skin, your face will absorb hydration more effectively. The Hydrating Mask locks in moisture and strengthens the skin barrier, preventing dryness or irritation.
Why this step is important:
-
Infused with heartleaf extract and ceramides for deep hydration
-
Strengthens the skin barrier to prevent moisture loss
-
Leaves skin feeling soft, smooth, and replenished
Apply the mask, leave it on for 15–20 minutes, then remove and pat the remaining essence into your skin.
Step 6: Repair and Rejuvenate With a Serum

The final step in dermaplaning aftercare is applying a Rejuvenating Serum. Since freshly exfoliated skin absorbs nutrients better, this step helps boost hydration, soothe irritation, and promote skin repair.
Why this step is important:
-
Contains centella asiatica for calming and repairing the skin
-
Fermented ingredients like mushrooms and soybean extract help strengthen the skin barrier
-
Improves skin texture, leaving it smooth and refreshed
Gently massage a few drops into your skin to complete your routine.
Why Try the epielle Dermaplane Starter Kit?

The epielle Dermaplane Starter Kit is designed to provide an easy, at-home dermaplaning experience while ensuring your skin stays hydrated and protected. With its step-by-step approach, this kit takes the guesswork out of what to do after dermaplaning and helps prevent irritation or breakouts.
Benefits of Using This Kit:
-
Includes everything you need, from cleansing to aftercare
-
Helps you dermaplane without breaking out by reducing bacteria and irritation
-
Uses Korean skincare ingredients known for their soothing and hydrating properties
-
Suitable for beginners and experienced users
Whether you're new to dermaplaning or looking for a complete solution, this K-beauty inspired kit makes the process simple and effective.